DJI Mavic 2 Pro/Zoom/Enterprise Survey3 Bundle
This discounted bundle has everything you'll need to use a Survey3 camera with the DJI Mavic2 Pro/Zoom/Enterprise drone. The mount is at a fixed tilt to keep the camera as parallel (nadir) with the ground during forward flight. The camera's Advanced V2 GPS cable has been designed specifically for use on the Mavic2 drone, making sure to keep the cable thin and lightweight. Simply choose the model of the camera and the micro SD memory capacity to complete your package.
*Please note that the DJI clear plastic protective cover for the Mavic 2 Pro camera is not compatible with our Mavic 2 mount.

Included in this bundle:
- Survey3 Camera
- Advanced V2 GPS with cable
- Survey3 Glass Lens Protector
- DJI Mavic2 Pro/Zoom Single Camera Mount + Mounting Screws
- Diffuse Reflectance Standard Calibration Target Package (T3-R50)
- MicroSD card
Install Instructions:
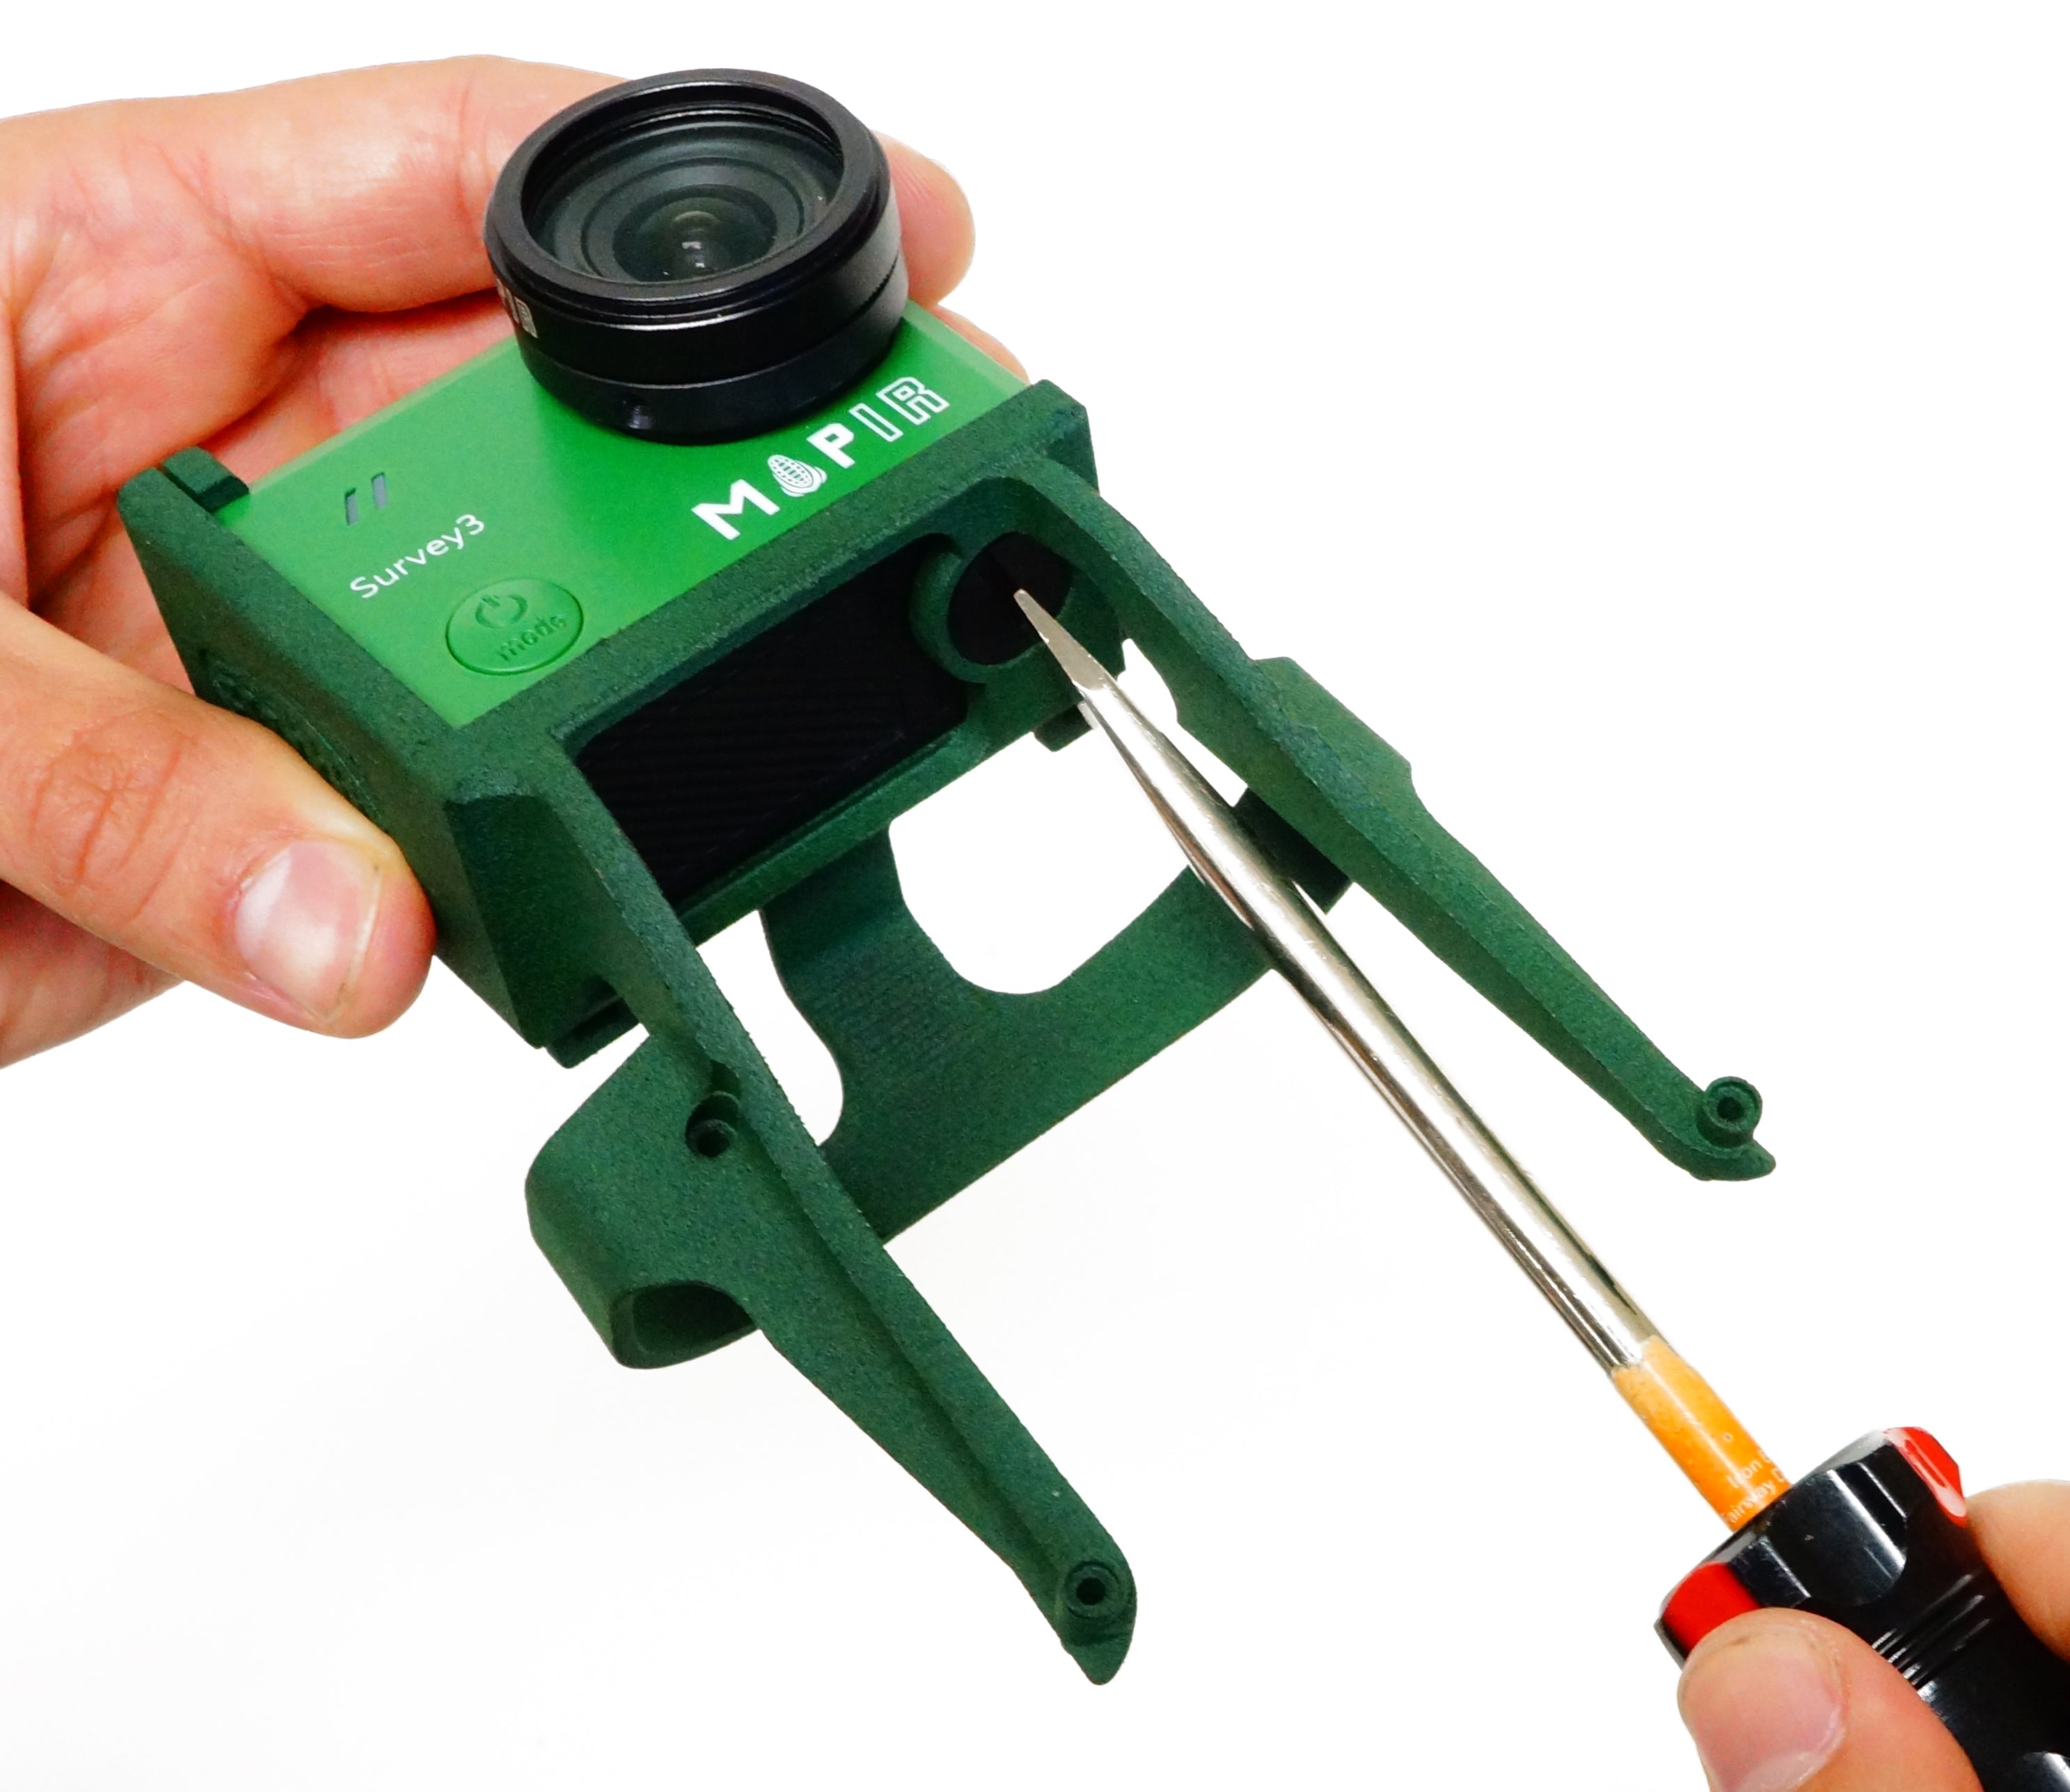
Step 1: Make sure the camera is in the default Interval timer capture mode. Install the camera (with battery) by sliding it into the mount. Use the included black plastic camera bolt in the camera's tripod mounting hole to secure camera to mount.

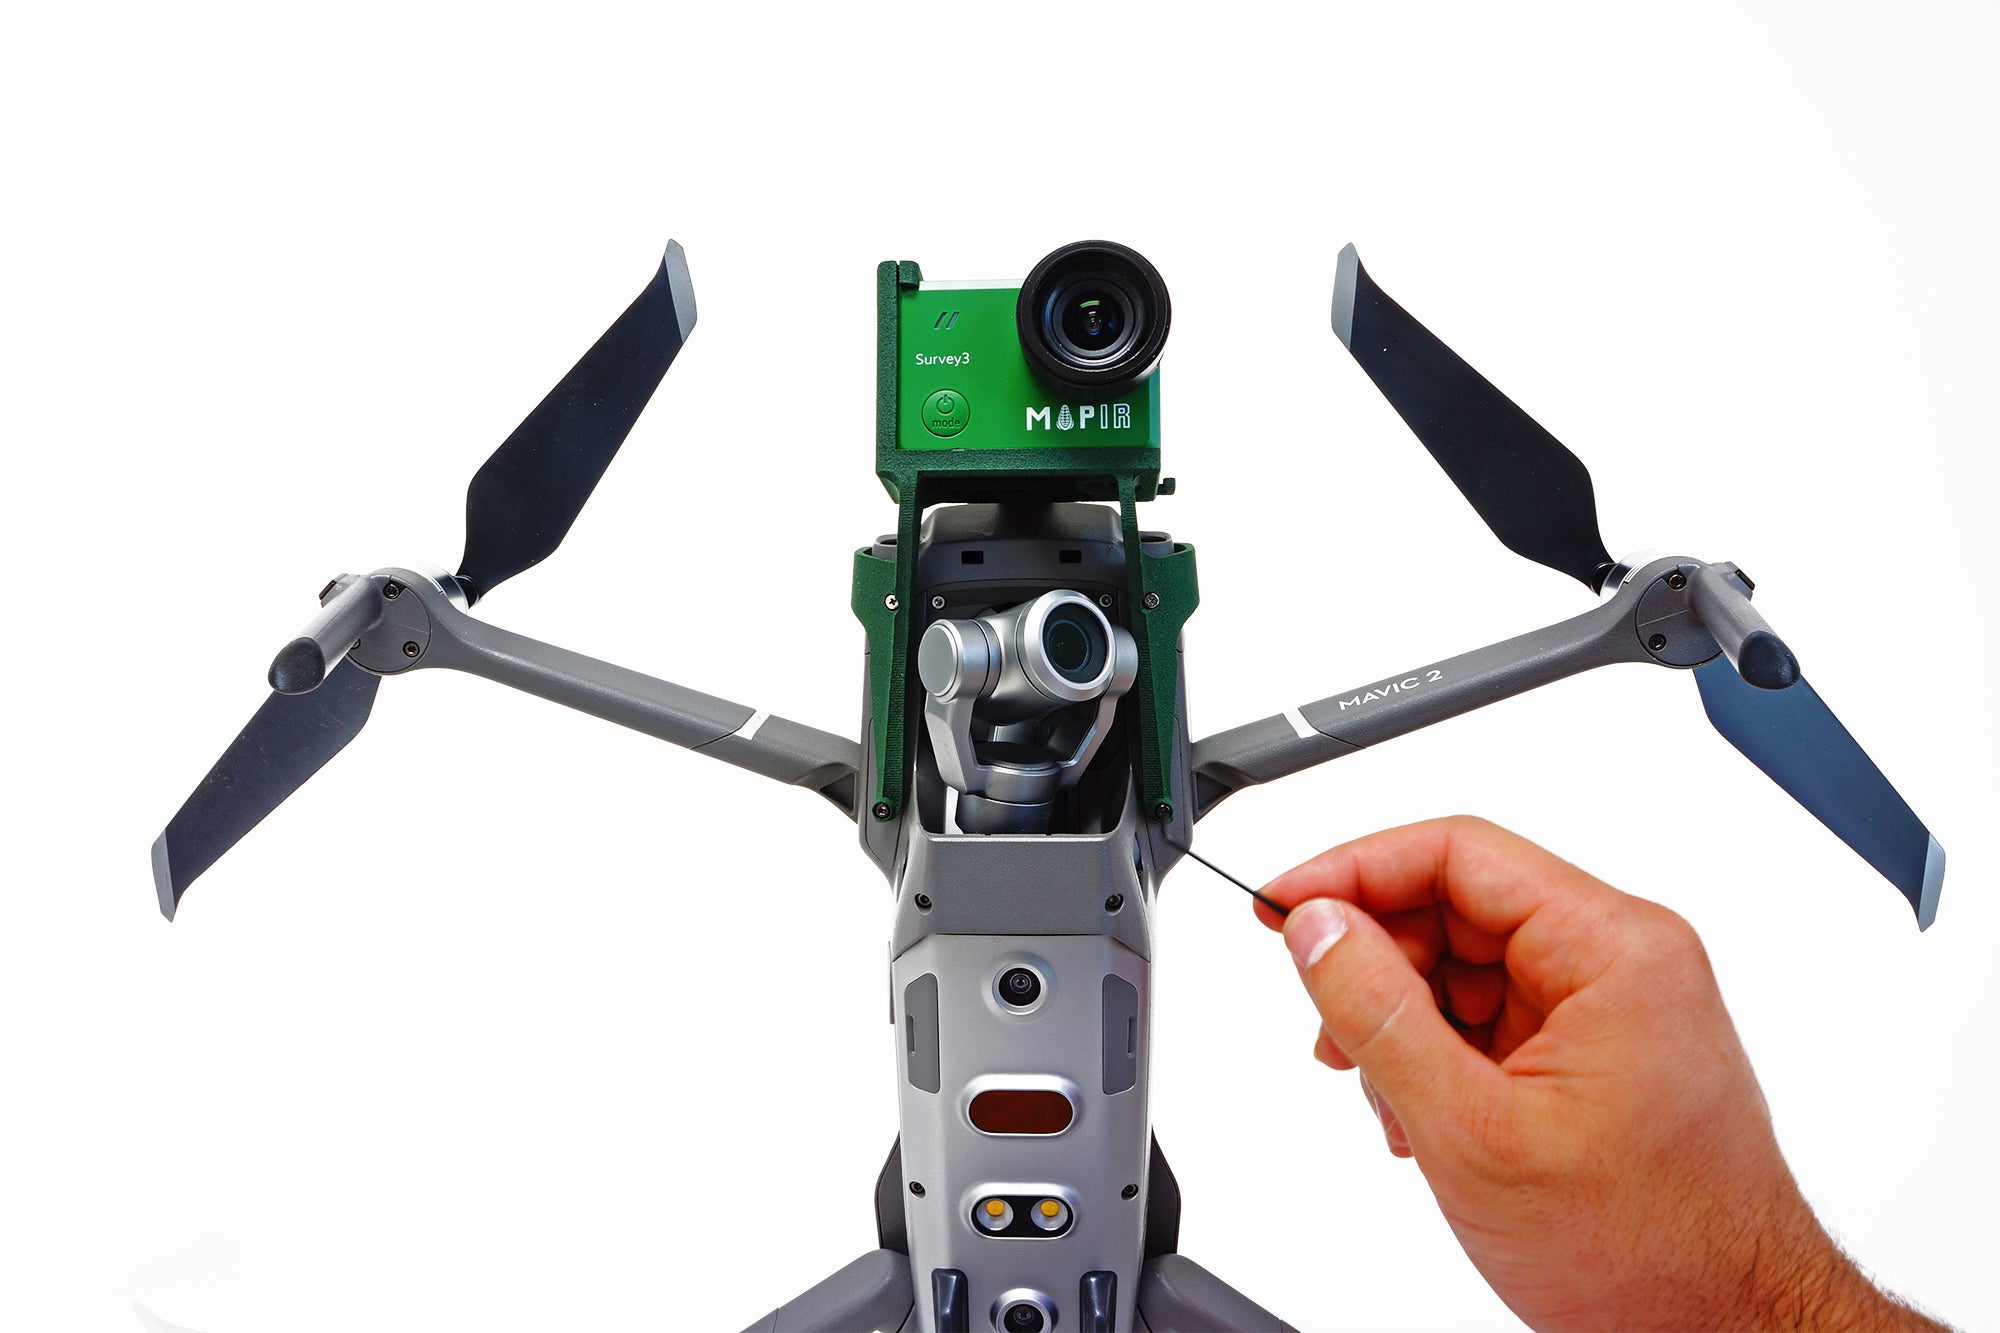
Step 2: Unscrew the original DJI screws in the 4 locations marked below with a (not included) 1.5mm hex tool:
Step 3: Place the mount as shown and tighten the four screws included with the mount. The black screws go in the back (blue locations marked above) and the silver screws go in the front (red locations marked above). The screw holes have pegs that will snap slightly into place.


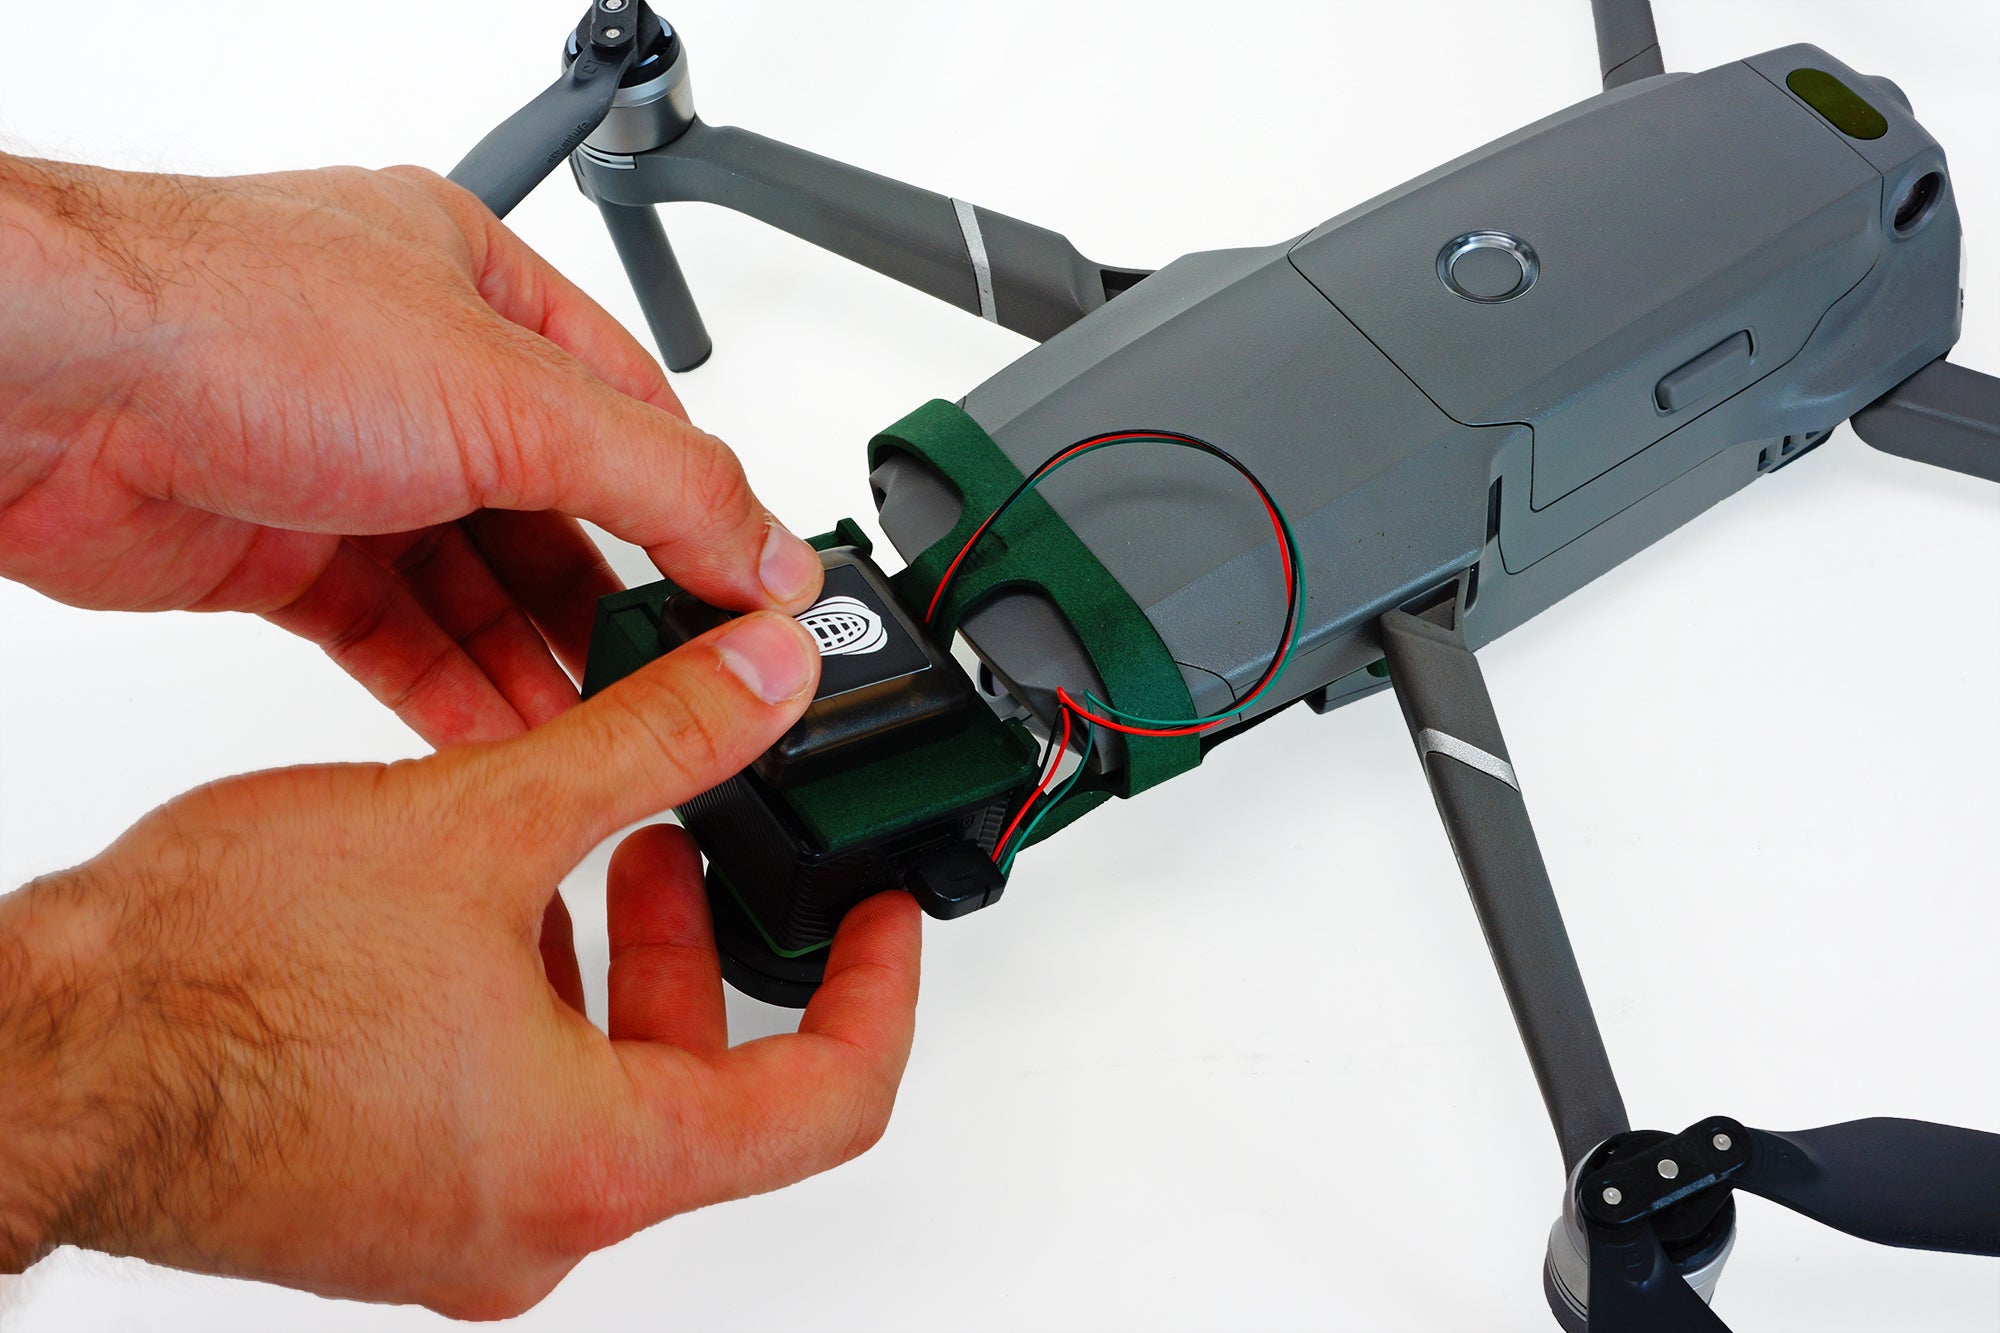
Step 3: Peel off the red adhesive backing on the bottom of the GPS receiver and attach to the top of the mount (corn logo pointing forward), such that the GPS is centered with the drone as much as possible. The adhesive is very strong and typically one time use. If you need to replace it you should use 3M VHB clear or similar tape if possible. The cables exiting out the back of the GPS should be bent 90 degrees straight upward and against the mount.


Step 4: Plug the GPS USB plug into the GPS port on the camera, located closest to the SD card slot. Loop the GPS wires twice around as shown:

Step 5: Use the included cable tie (zip-tie) to loosely secure the coiled GPS cables to the green plastic cable loop on the top corner of the mount. DO NOT TIGHTEN FULLY JUST YET.

Step 6: Push the GPS wires under the top of the mount. Expand the loop as needed such that the wires will not come out from under the mount. Guide the wires through the clip on the side of the mount. Tighten the cable tie when the wires are located properly. Cut off the end of the cable tie.


